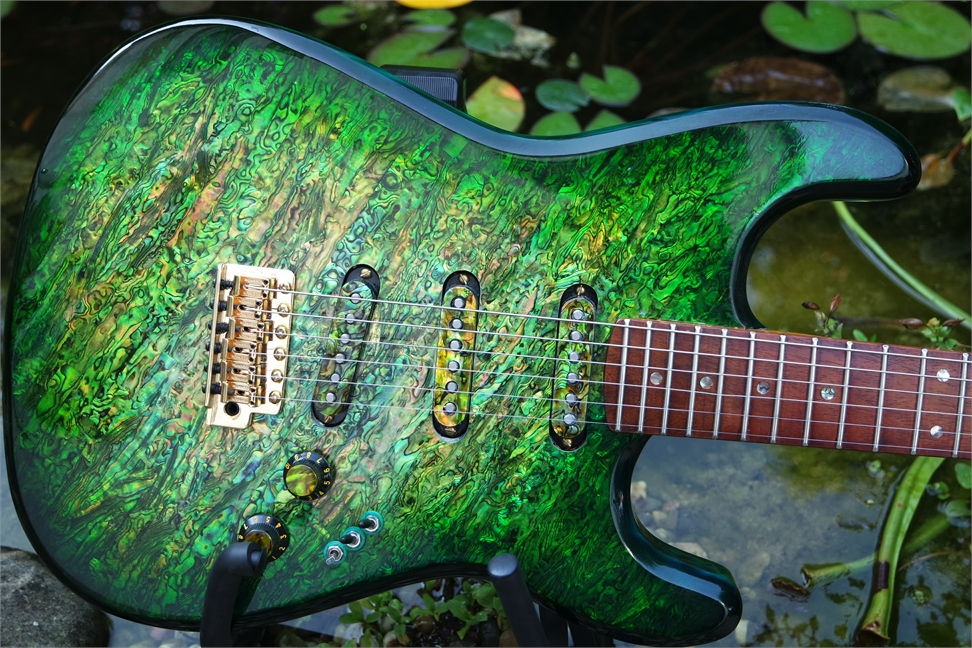
BUILDING a PEARLVIBE
Our lumber is aged over many years, selected and matched, glued and rough routed.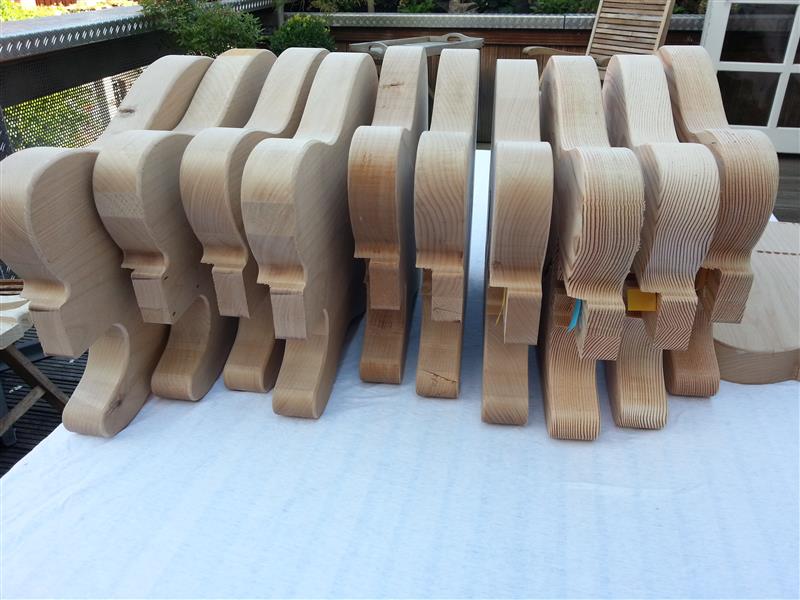
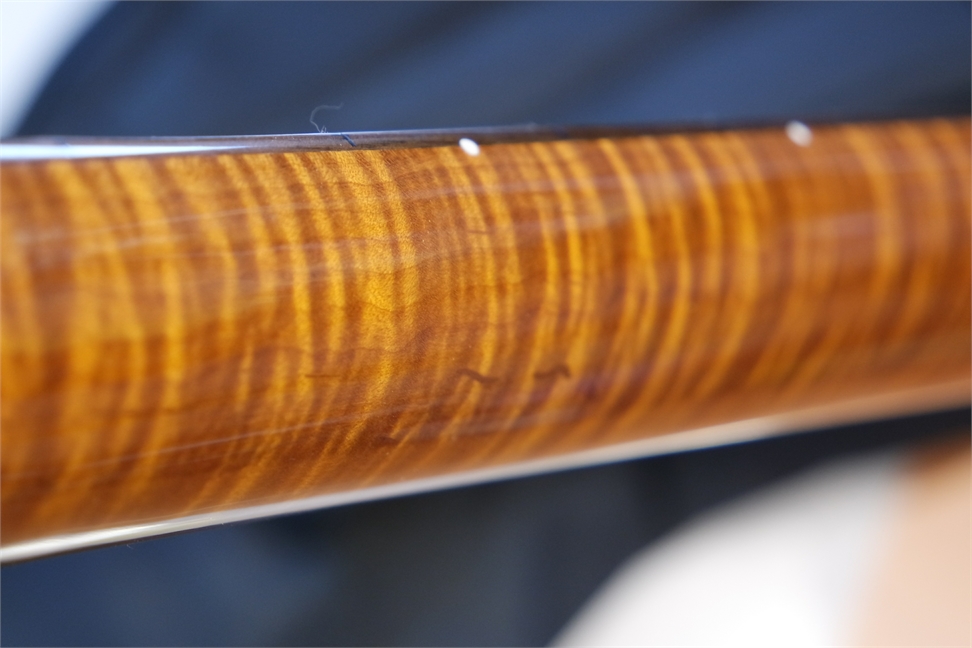
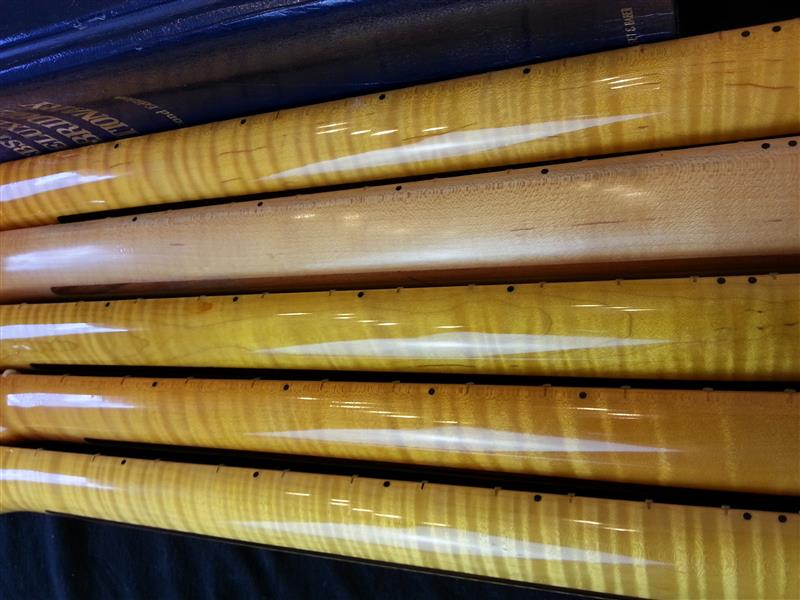
The necks are made first. I use vintage specs, vintage C shape. Enough wood for good tone but not too fat - comfortable in your hands. Only well aged Canadian maple is used, FLAMED maple from AAA grade to AAAAA.
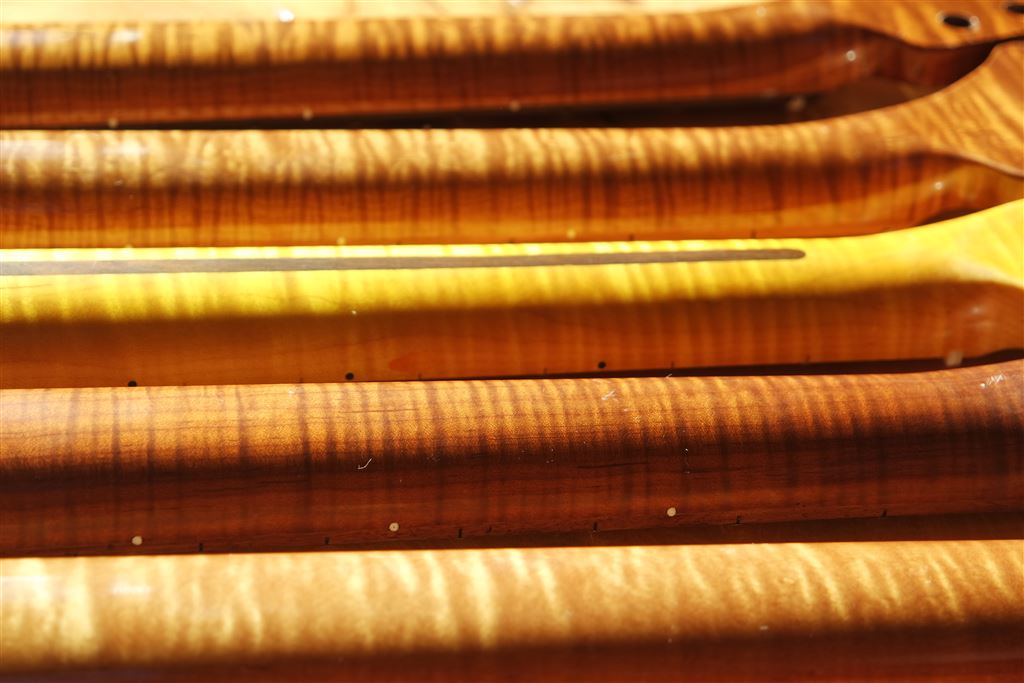
Roasted
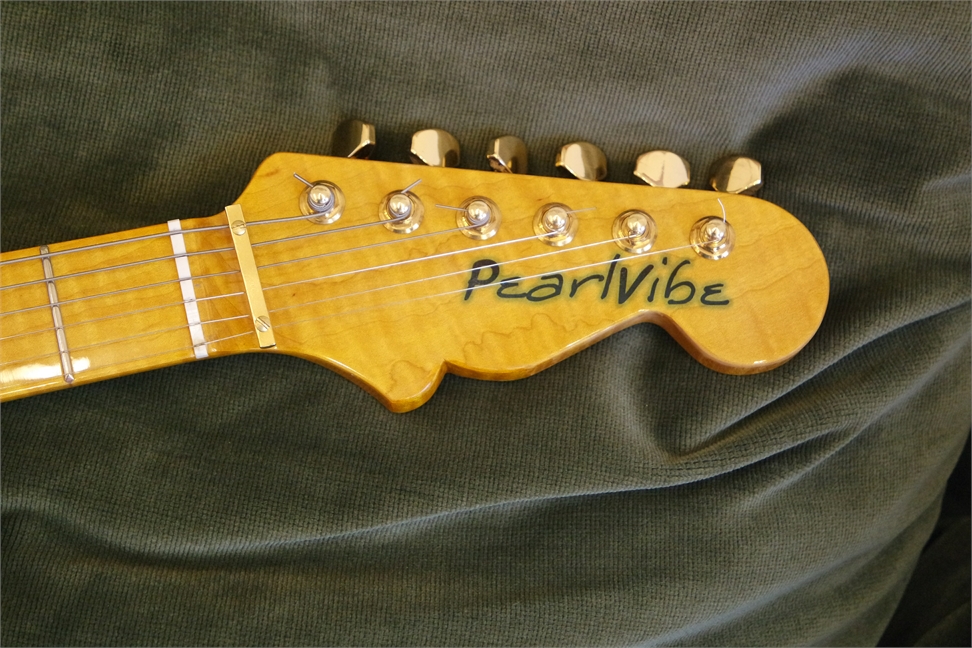
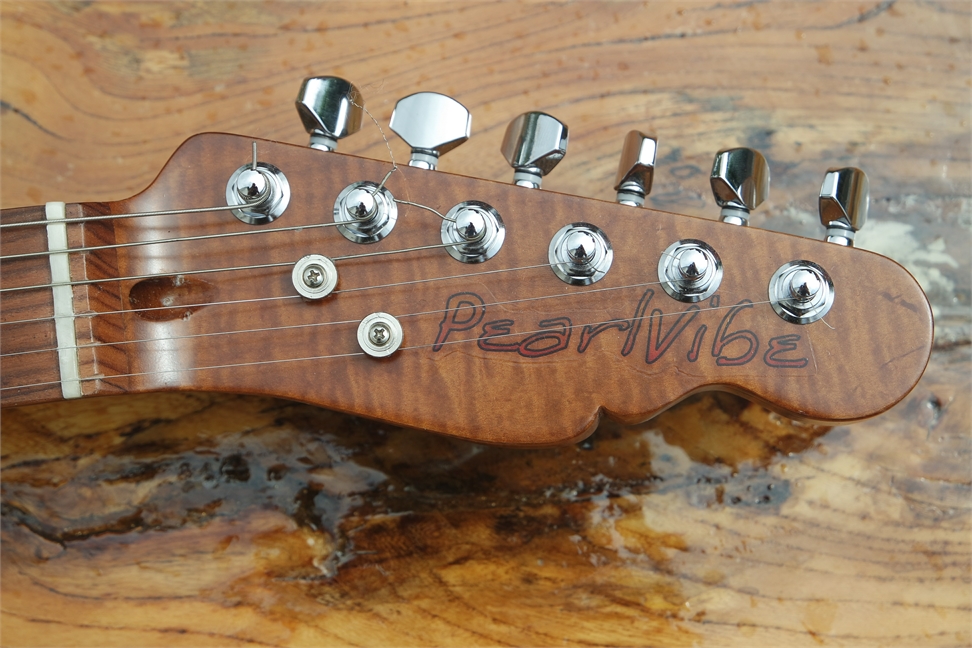
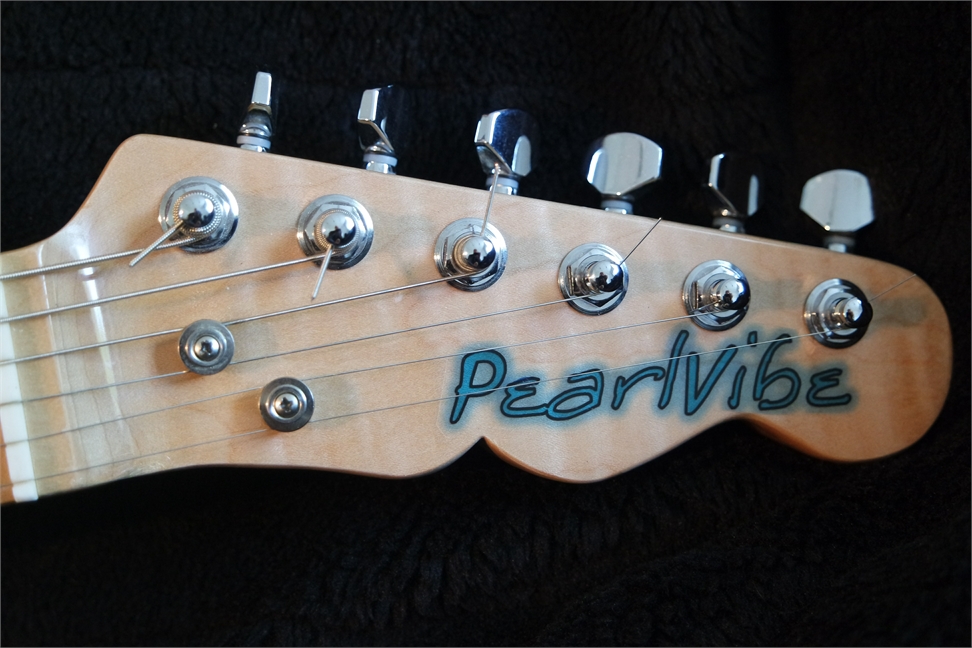
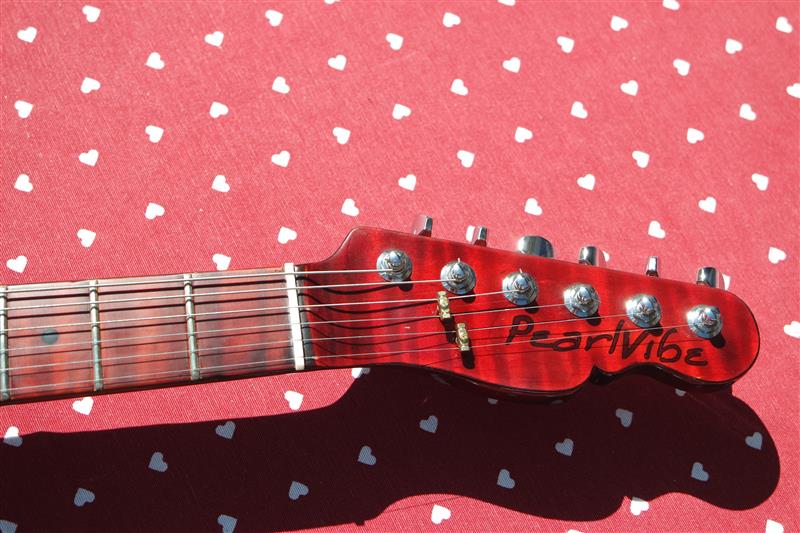
Pearlvibe Headstocks on all guitars

This batch is Grade AAA. Very pretty flames
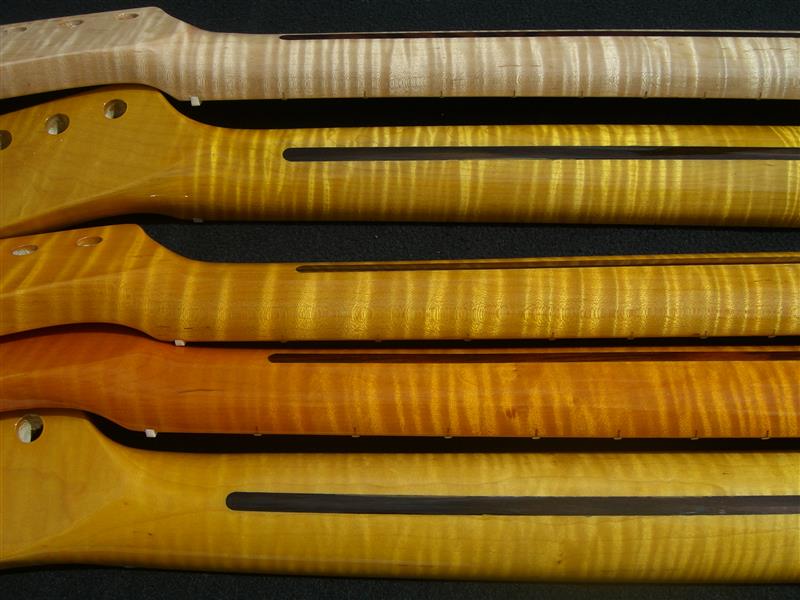
Grade AAAA -flames more pronounced
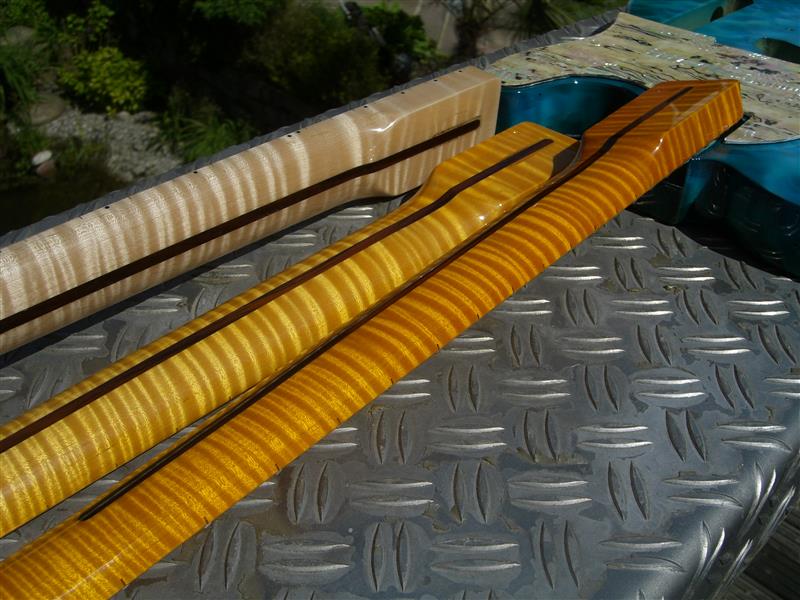
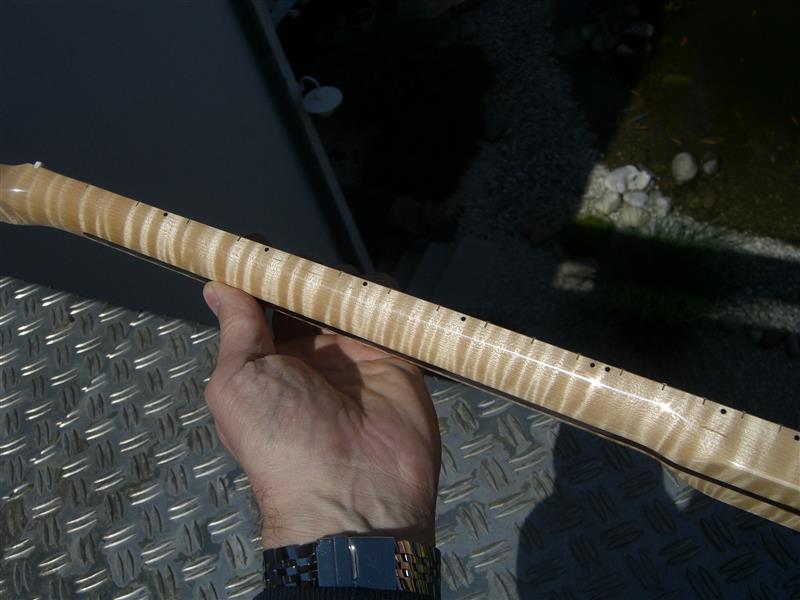
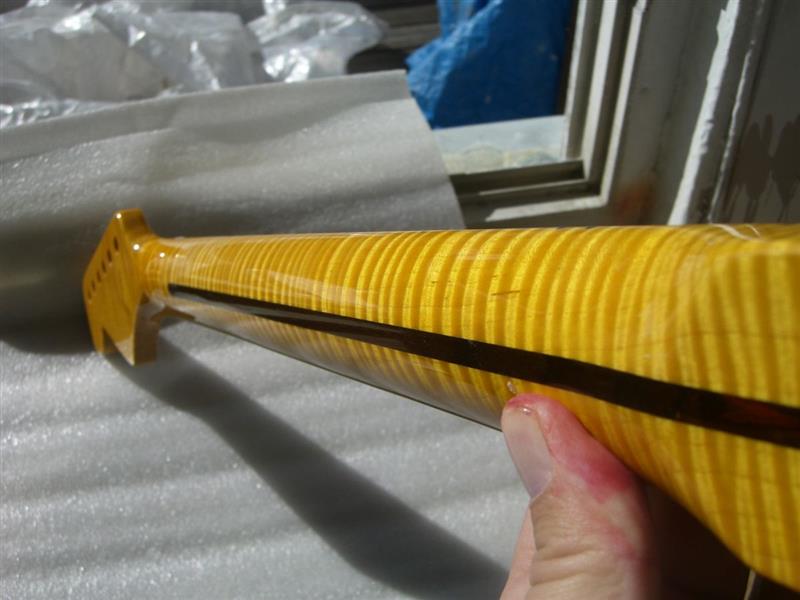
These are all Grade AAAA to grade AAAAA. The Pearlvibe headstock will be added.
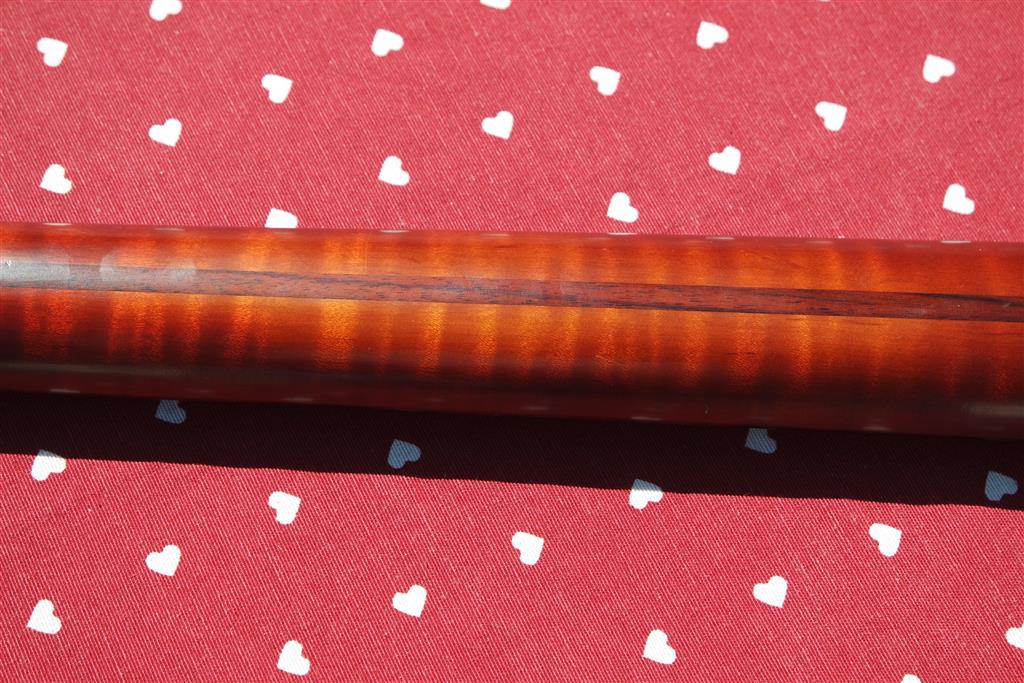
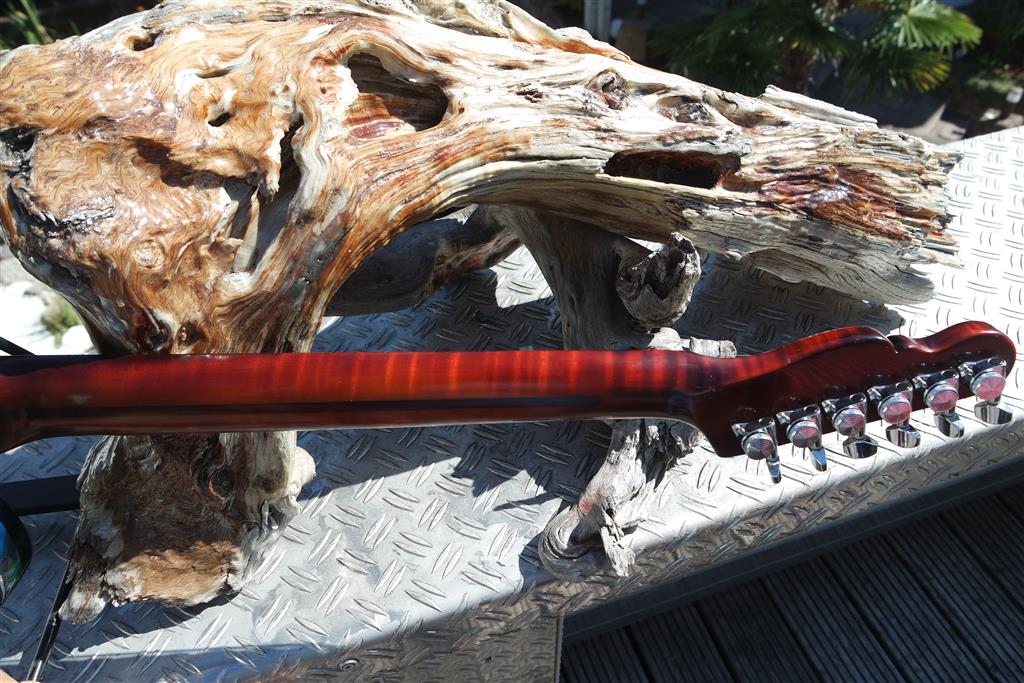
Are you a Redneck?
Pearlvibe also offers roasted maple necks with the same radiant flames
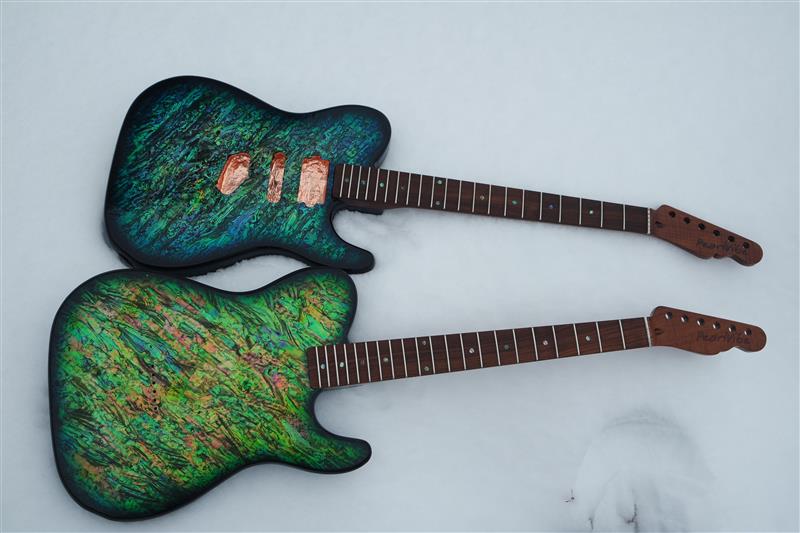
Building steps of the "Sultans of Pearl" from start to finish:
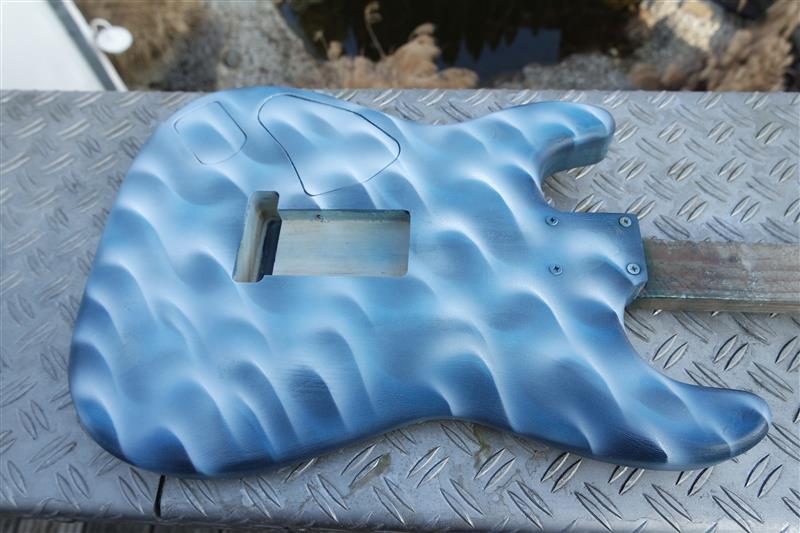
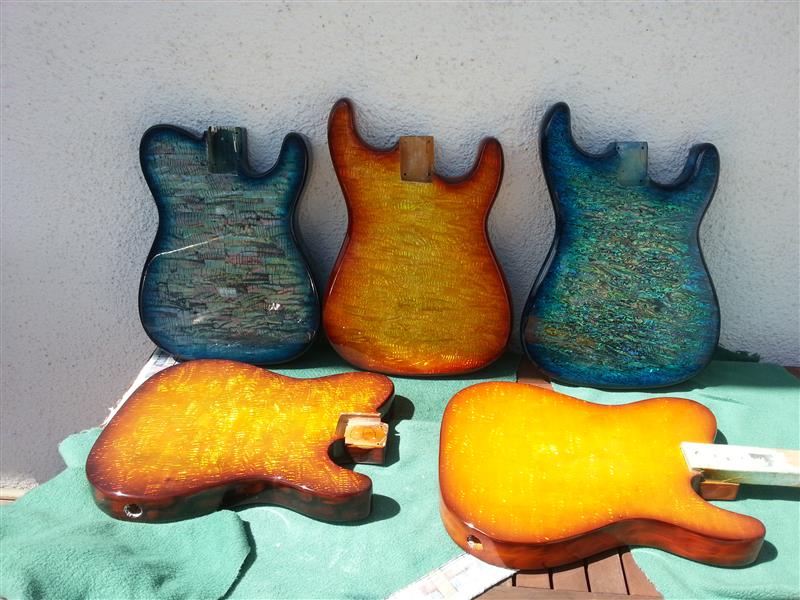
Preliminary airbrushing after routing, shaping, sanding and nitro base
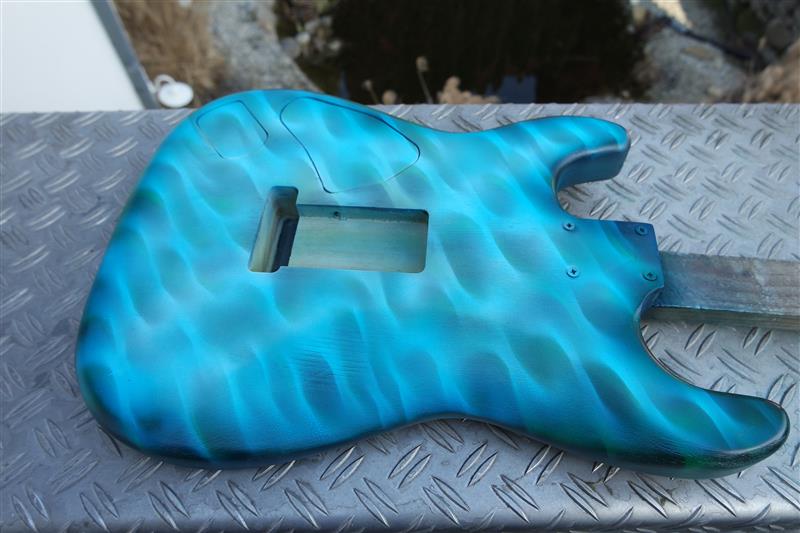
More airbrushing layers
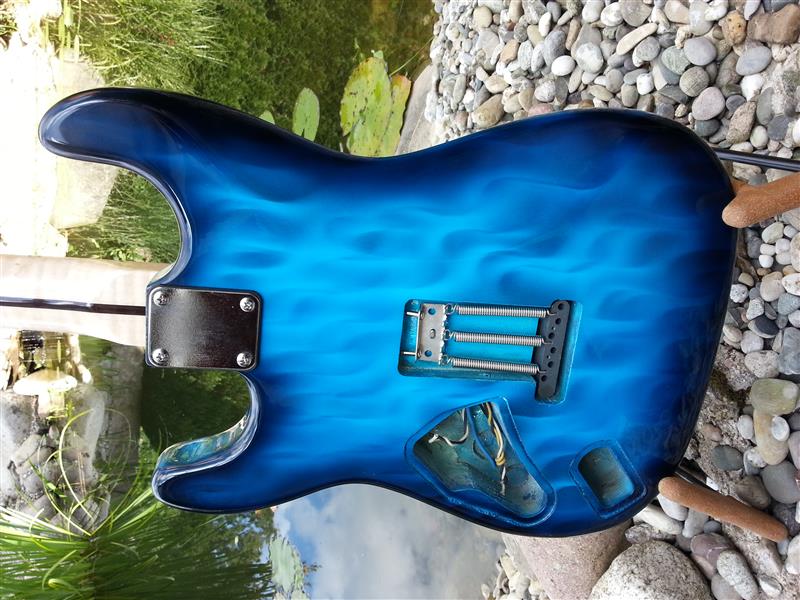
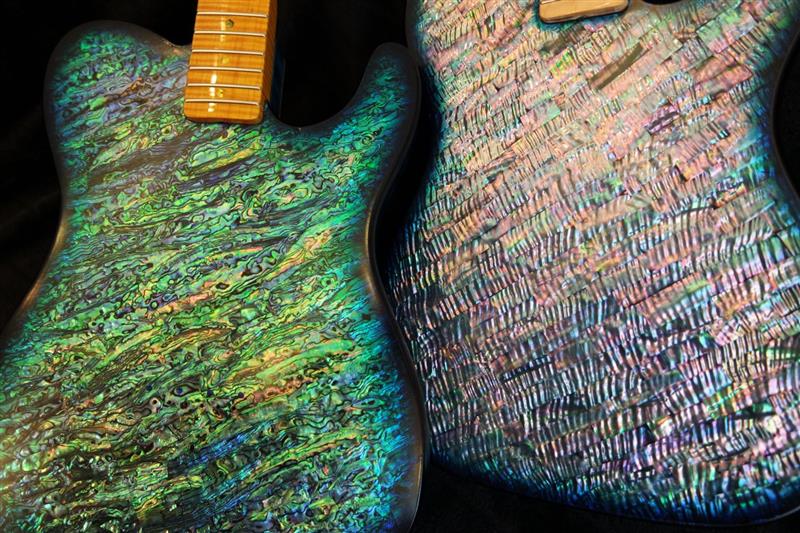
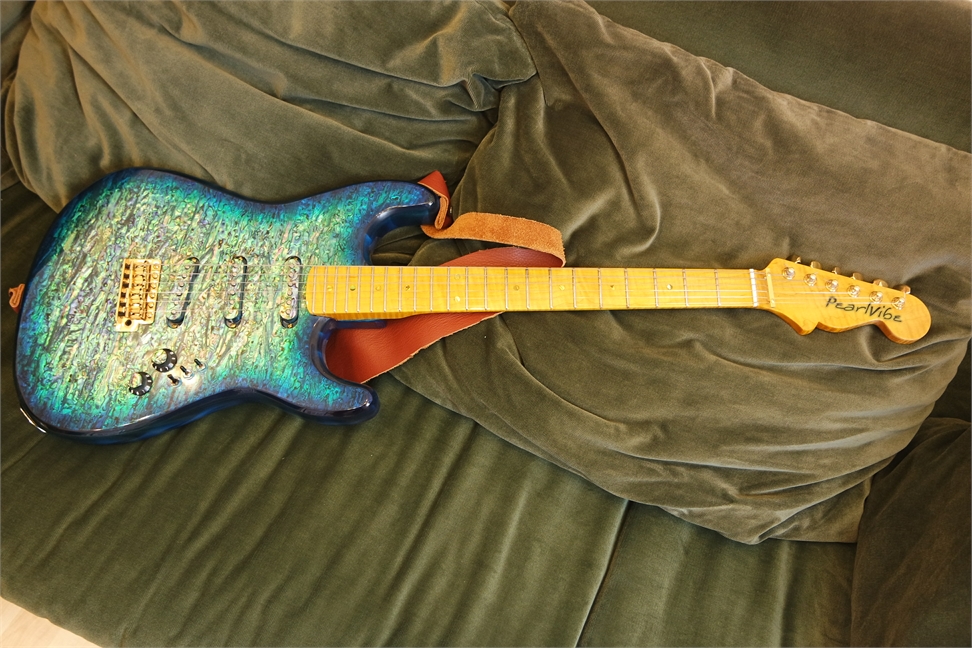
This is the final product
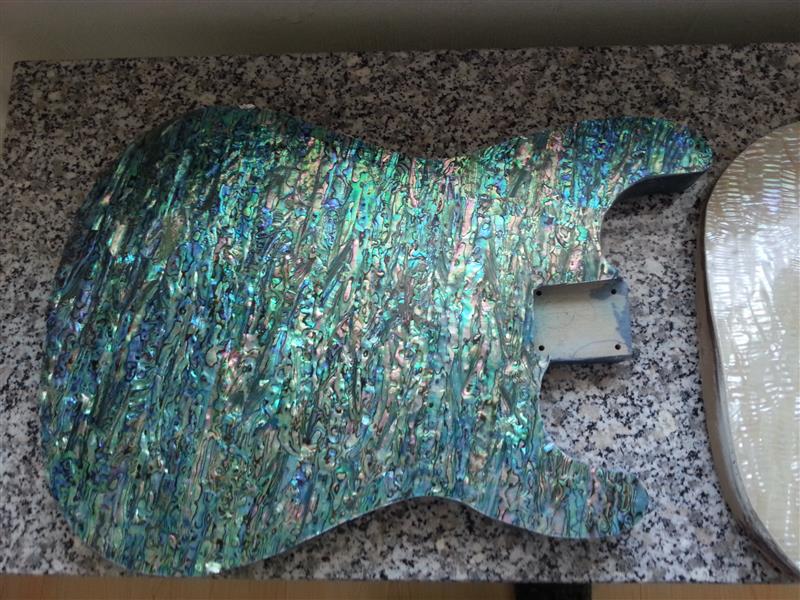
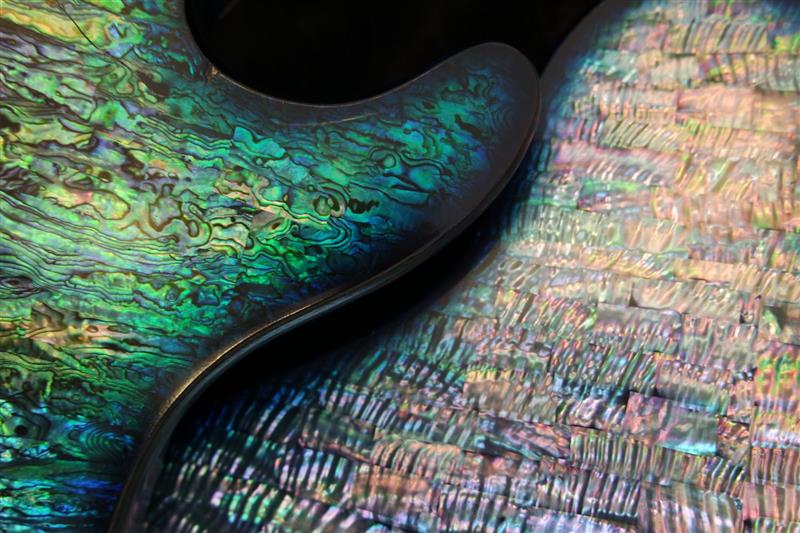
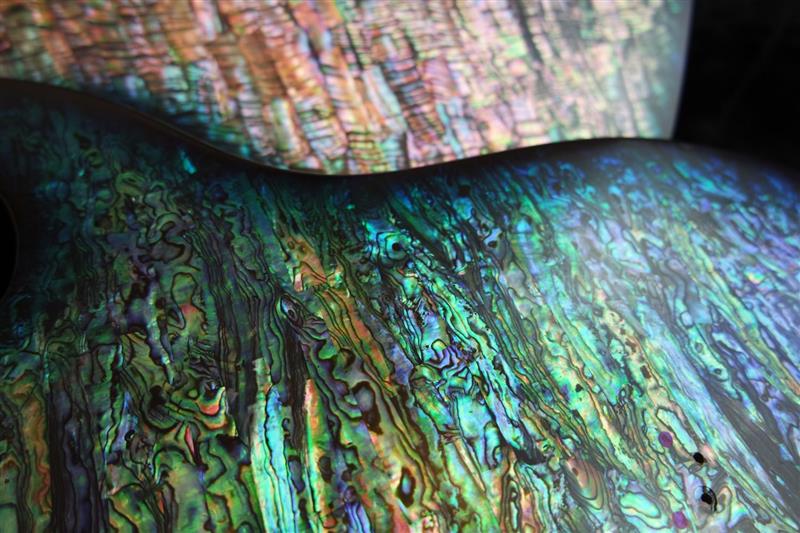
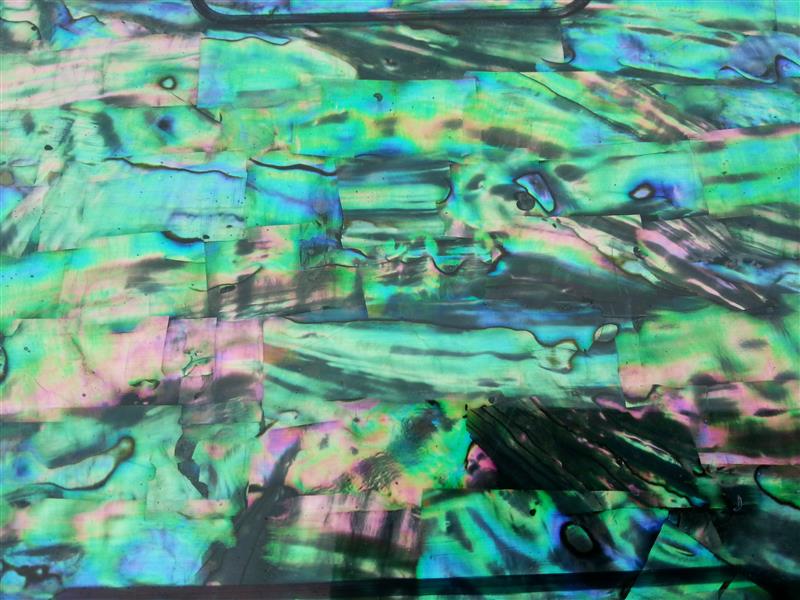
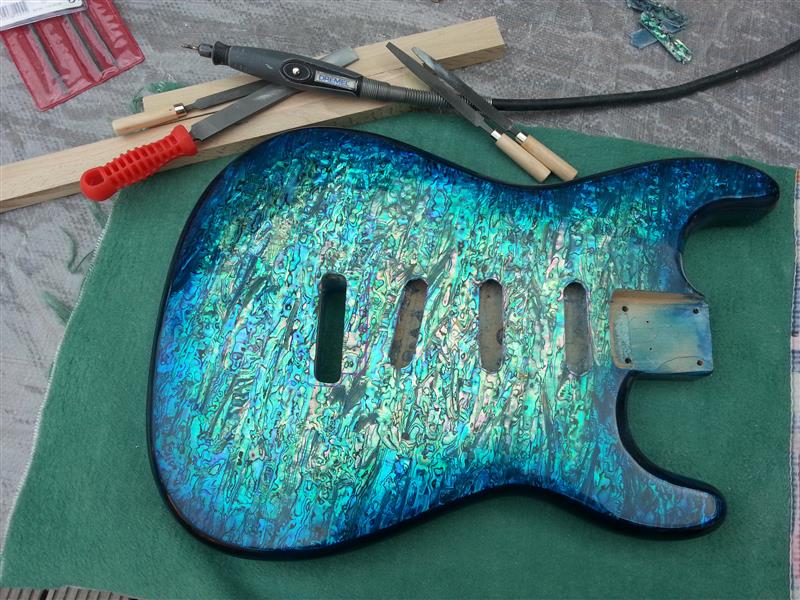
Rough abalone has been fitted painstakingl It is still too thick and must be sanded extensively. Pickup cutouts were routed before hand.
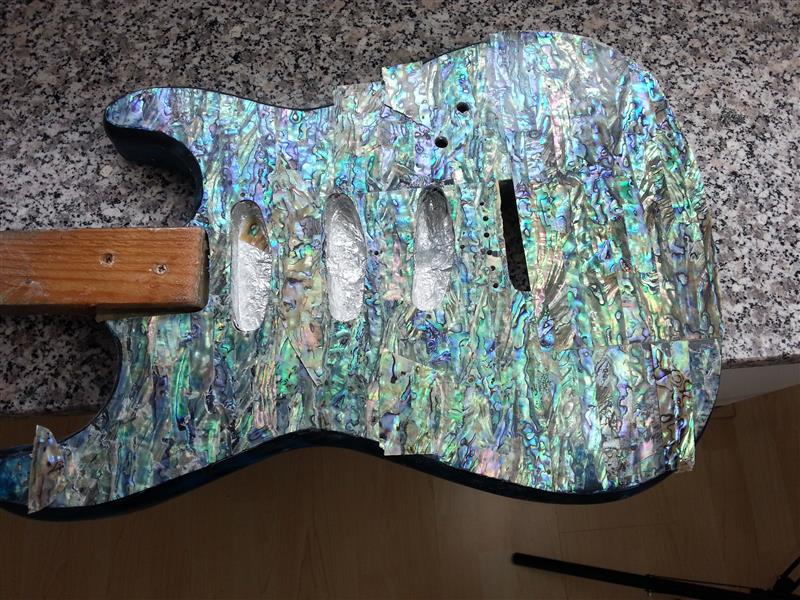
More final fitting of abalone pieces, last sanding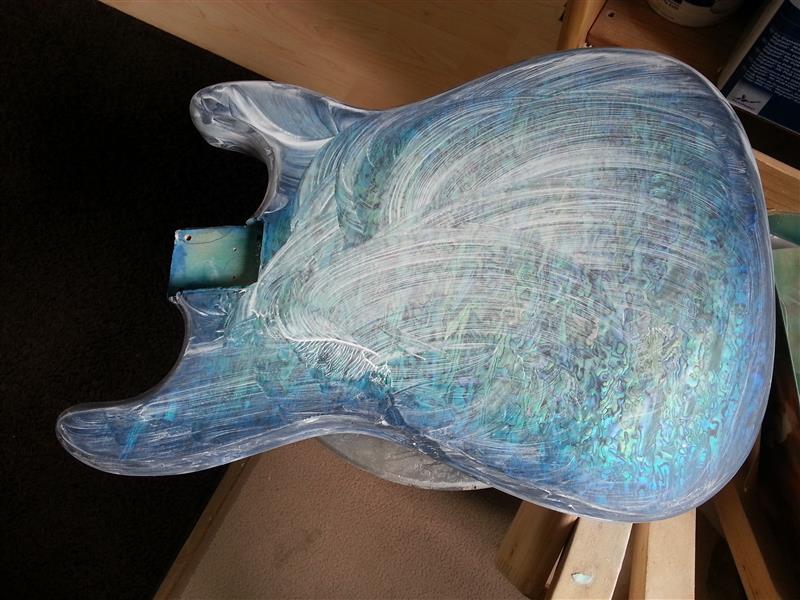
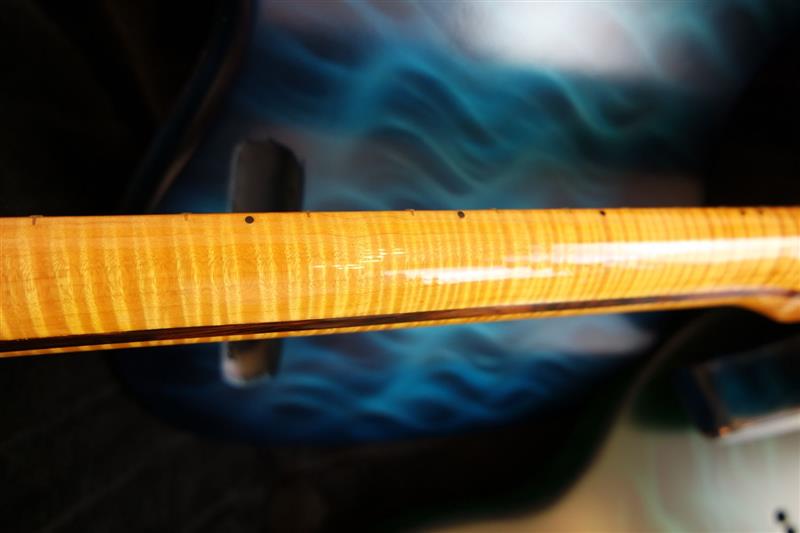
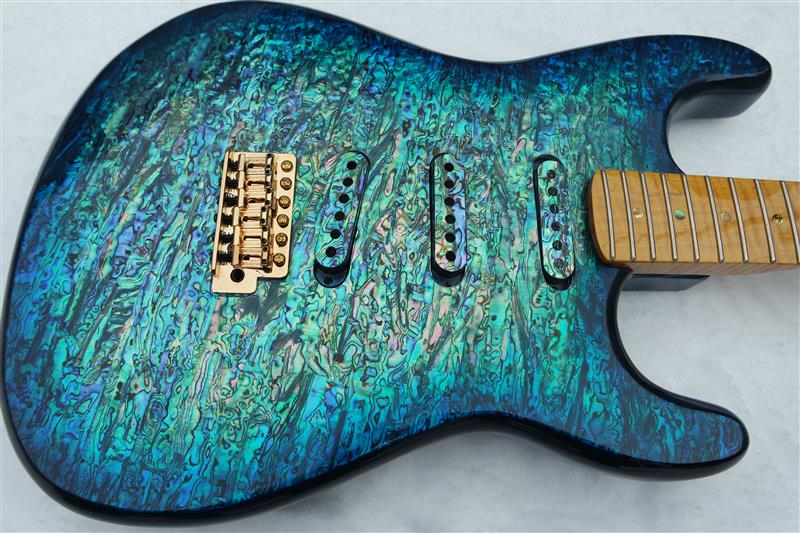
Now the fun starts - Pups and electronics. Of course, one more coat of lacquer and polishing.
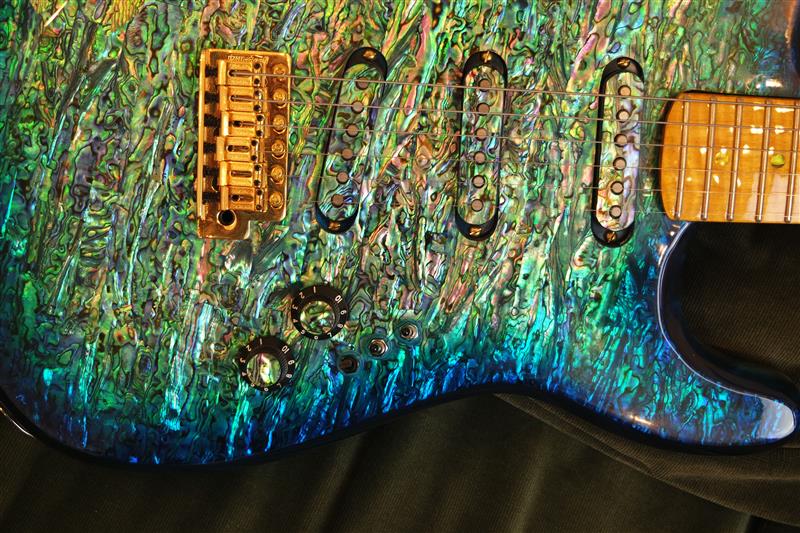
Vintage low out put pups 5,6 K alnico 2 and Fingertips switching for those extzra series power tones
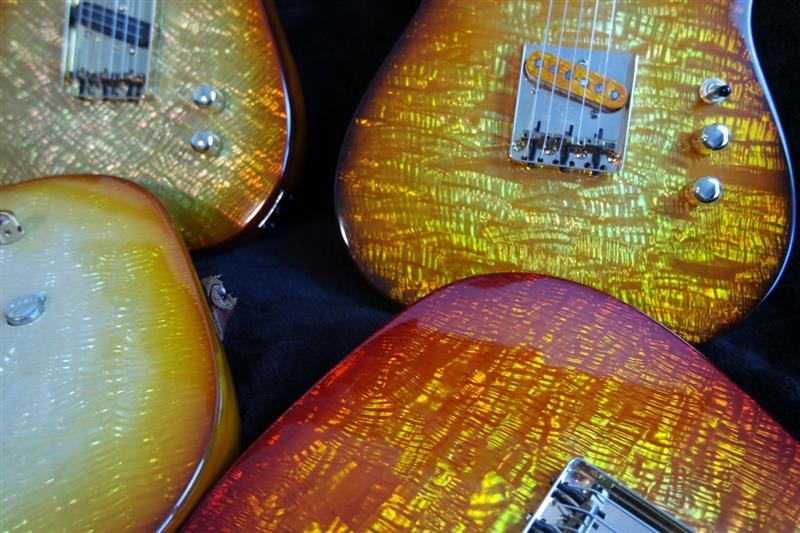
Building the EMBER BLASTER: the critical steps
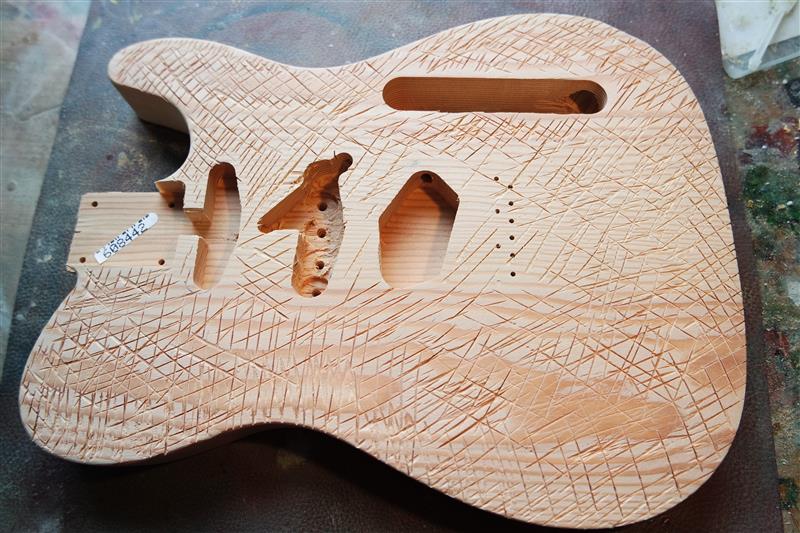
What?
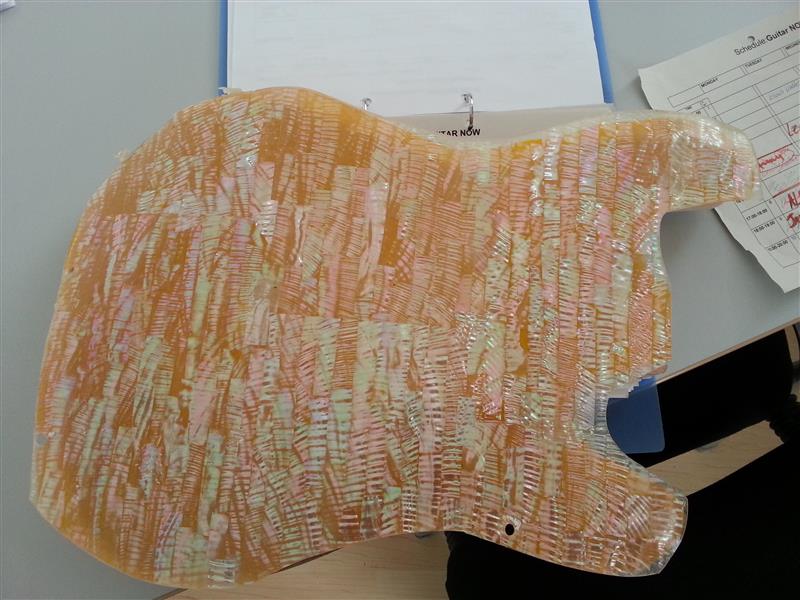
Rough white abalone strips. Secret staining process follows after sanding down the top to a paper thin thickness
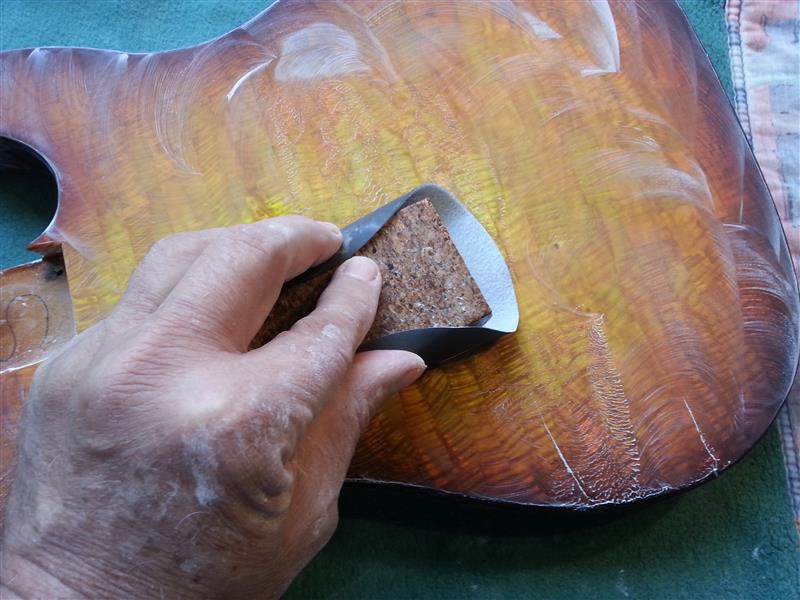
Airbrushing was done - a deep auburn burst
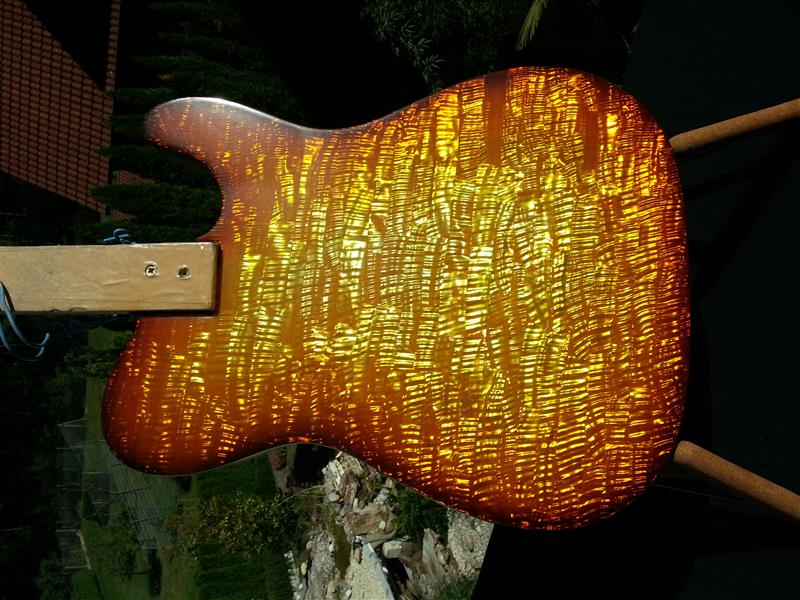
Final lacquer and polishing
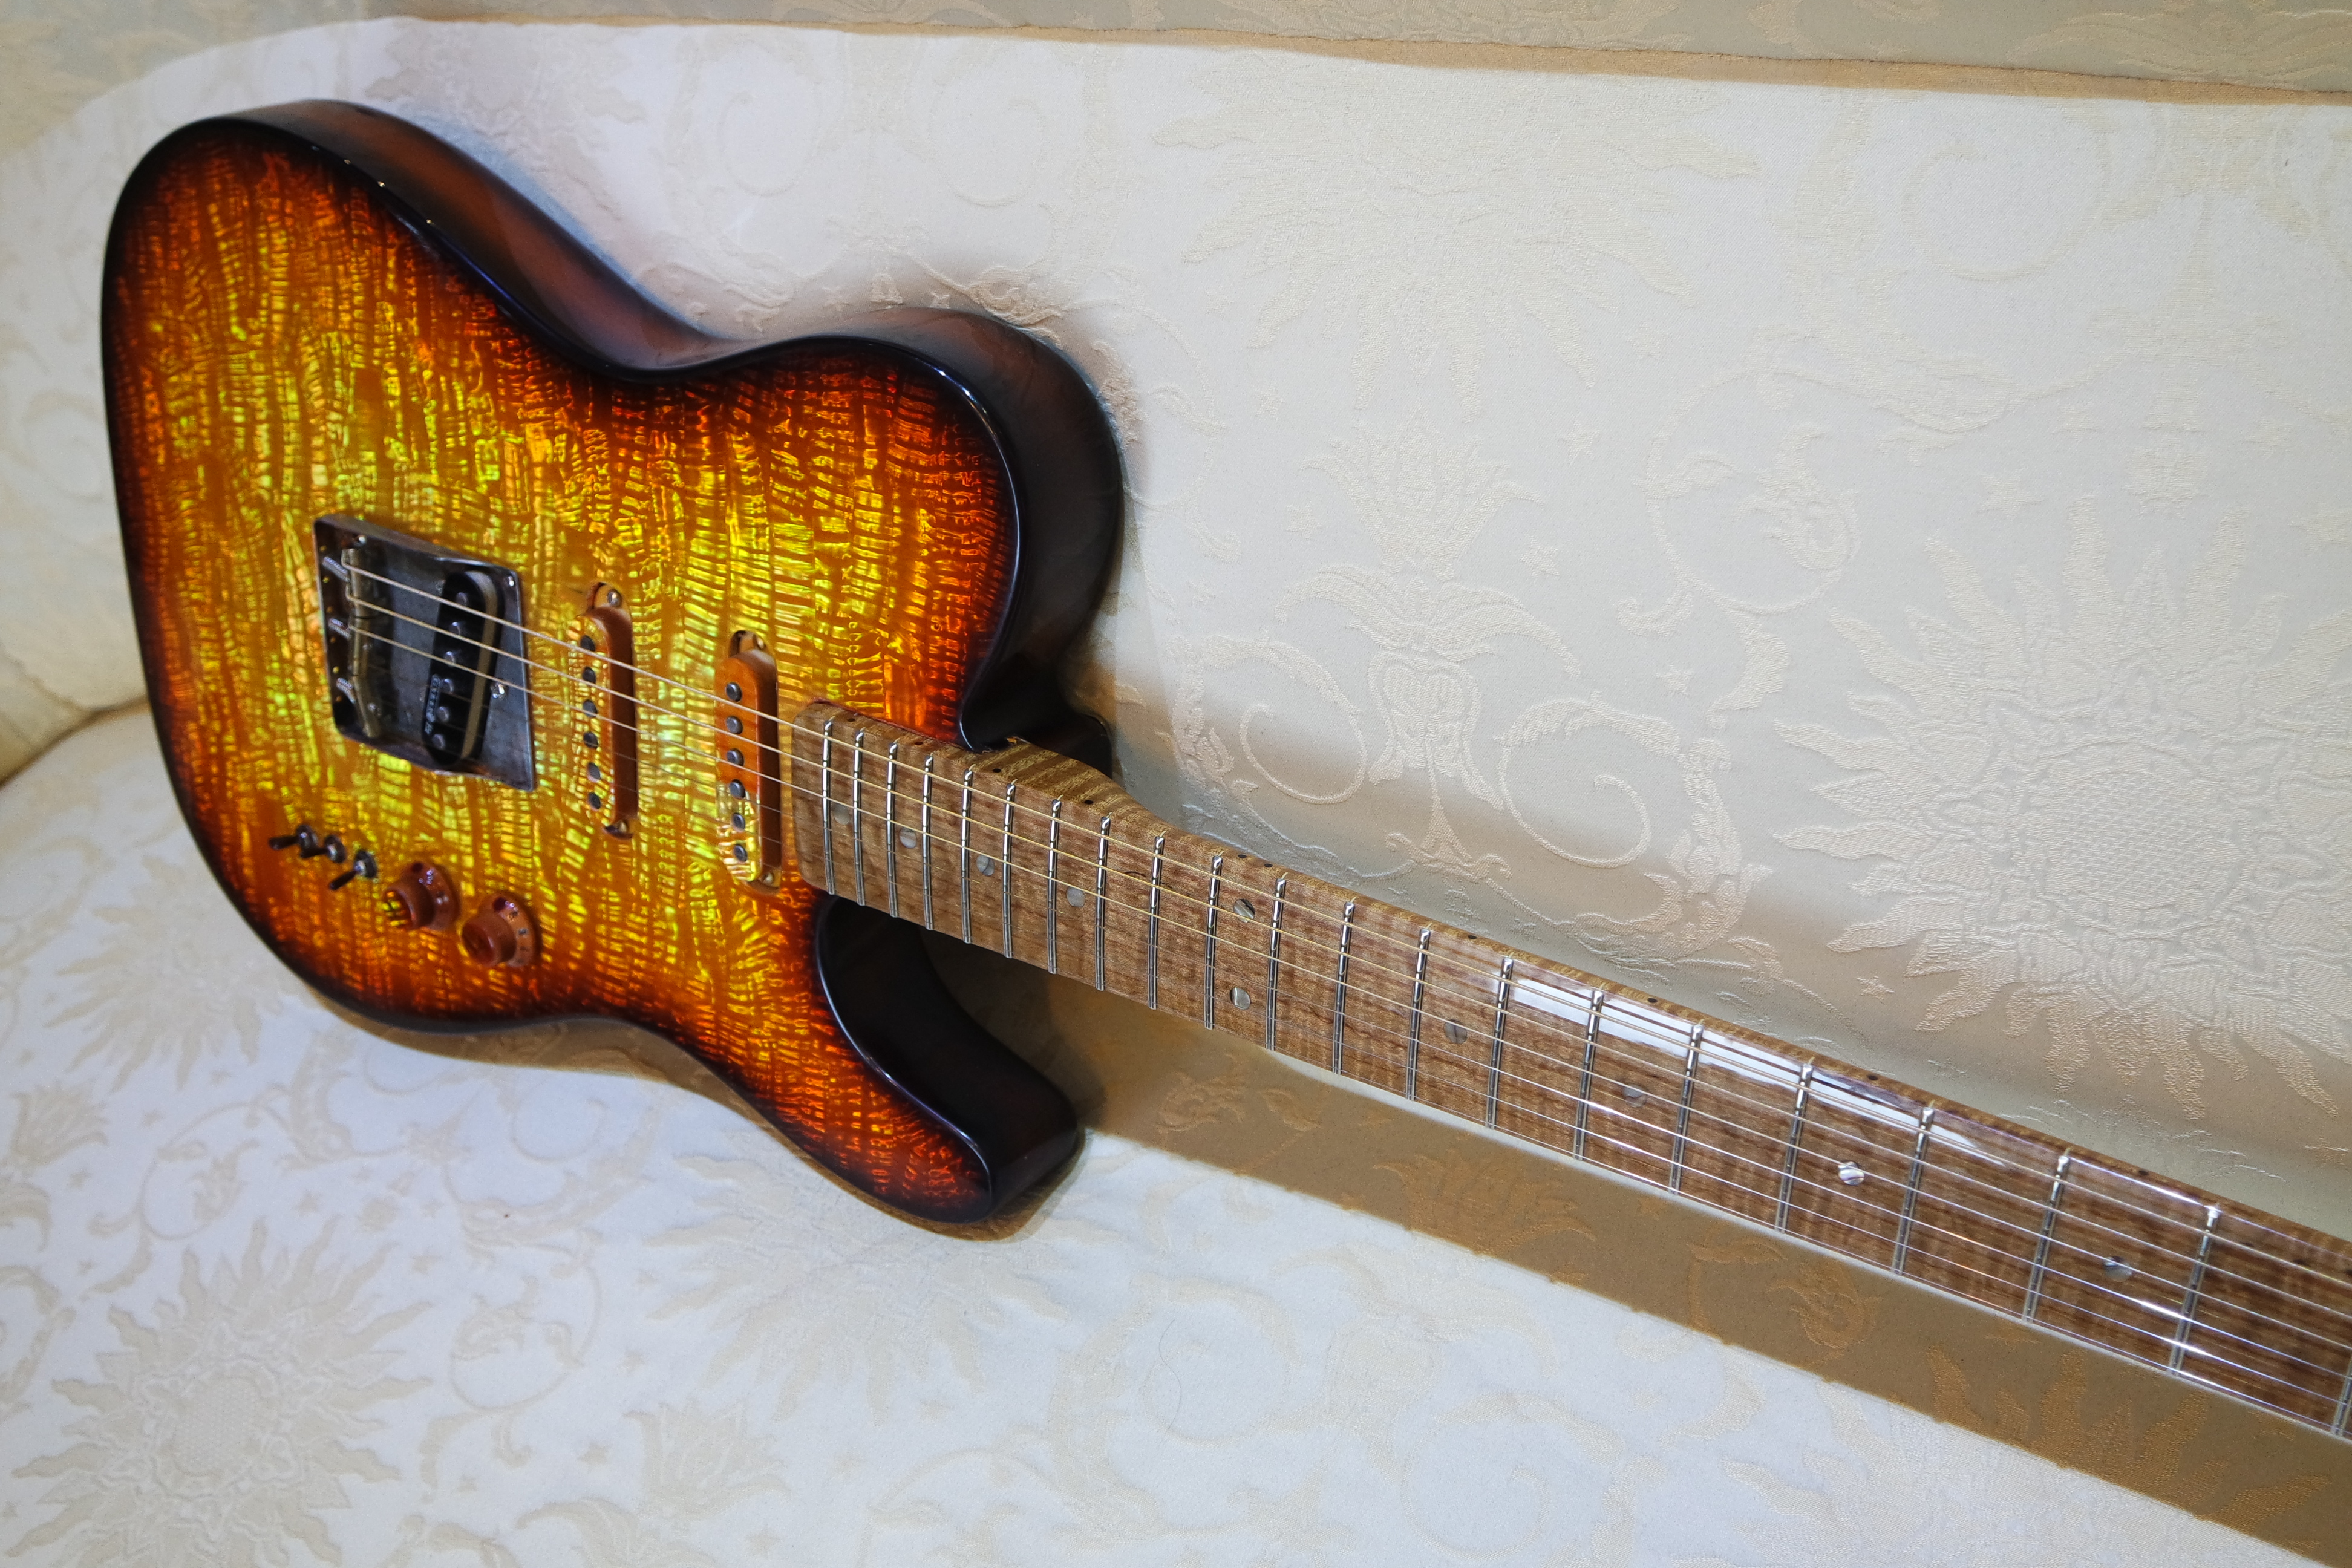
Roasted maple neck, Kinman pickups, 12 way Fingertips switching
The Classic Series: Grain Enhancement! Great tonewood but the grain and color is lacking.
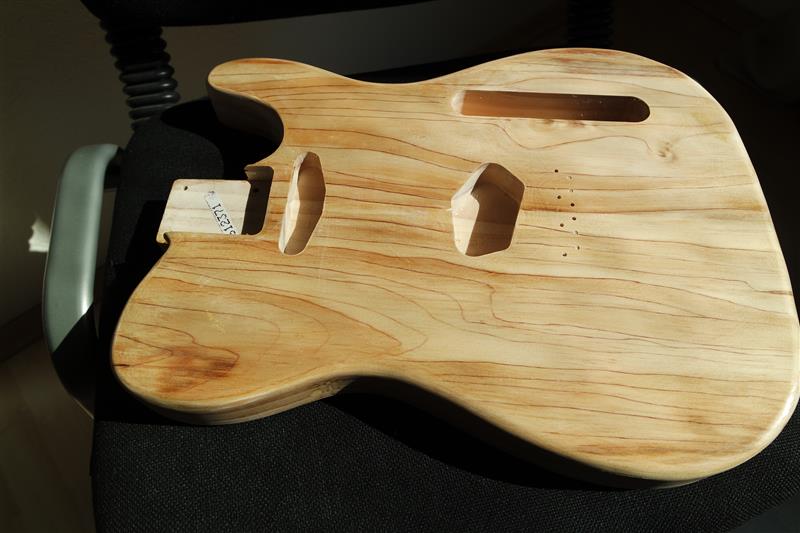
Great tonewood but the color and grain is lacking
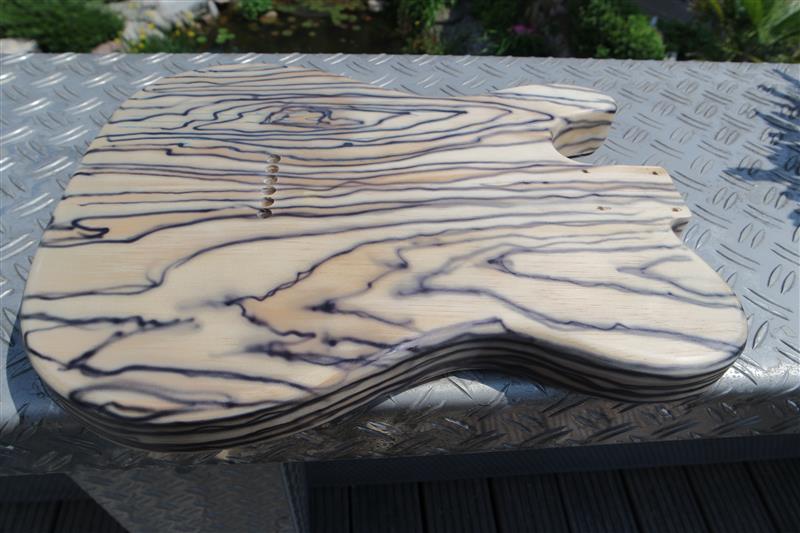
First step. I want a warm red tone!
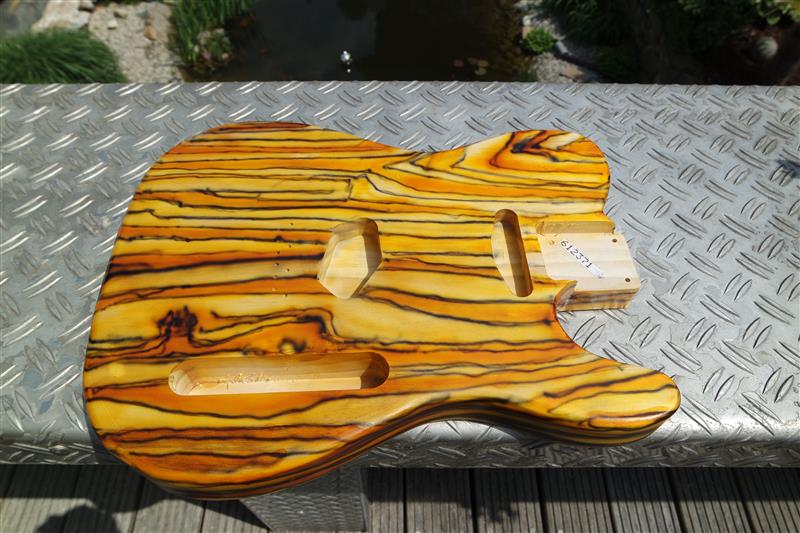
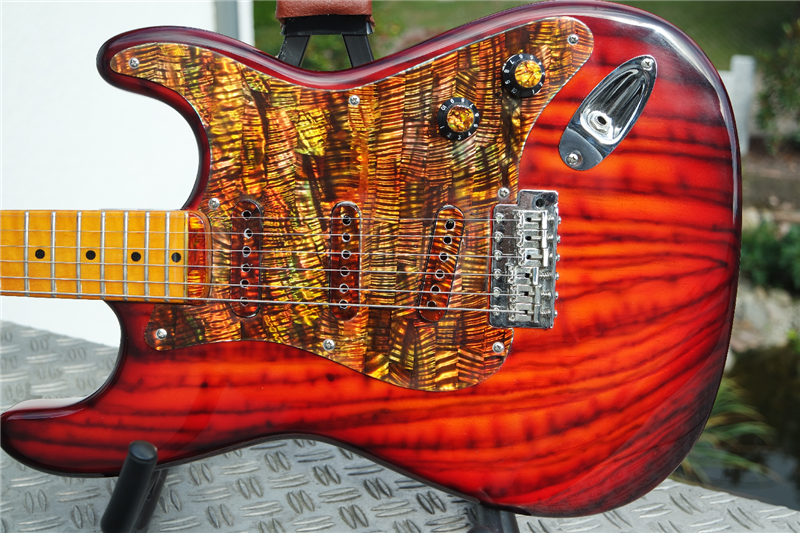
This was all done with airbrush
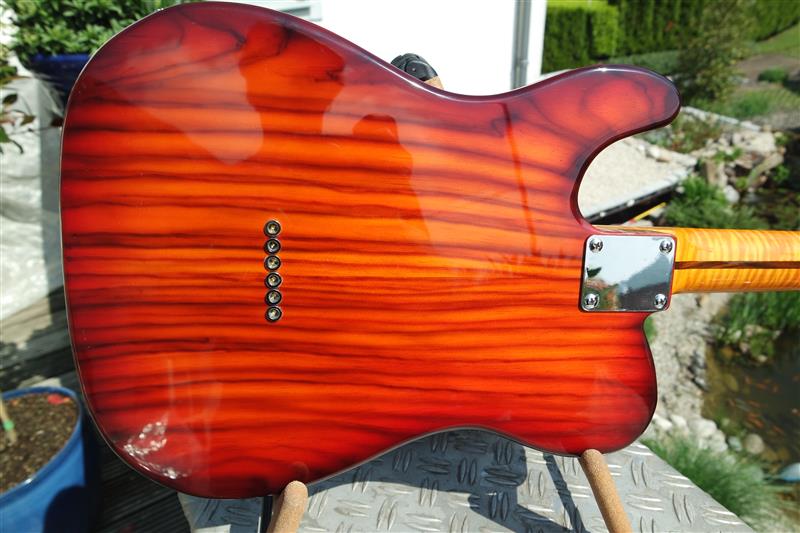
Classic Series with white abalone pickguard
REDWOOD ; grain enhancement
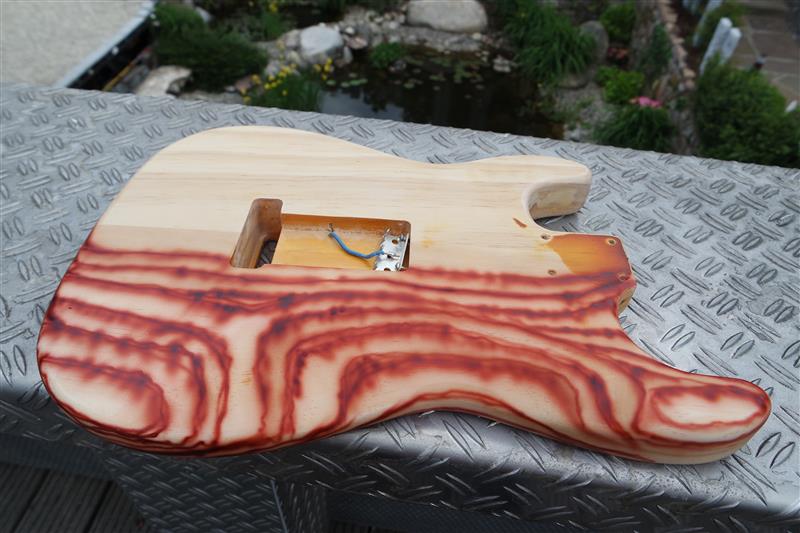
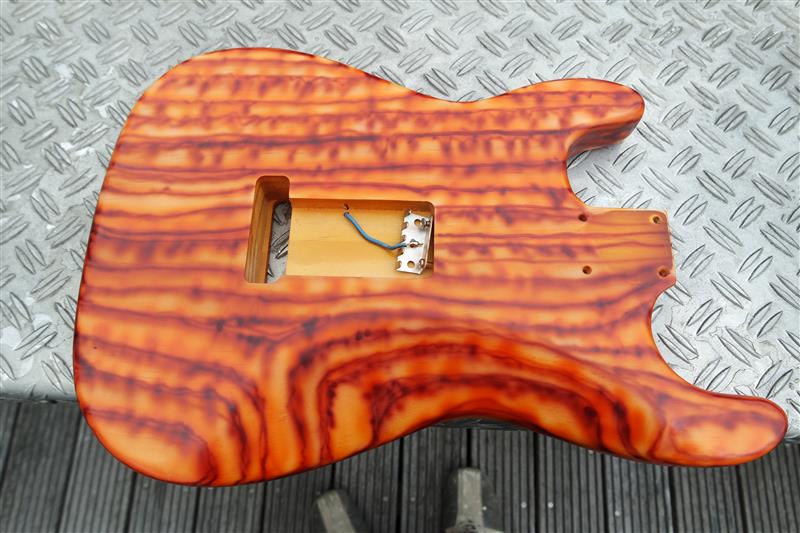
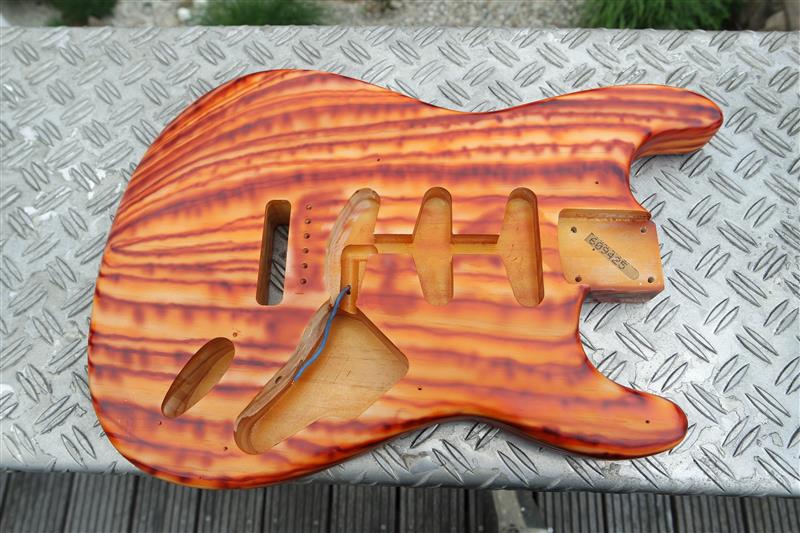
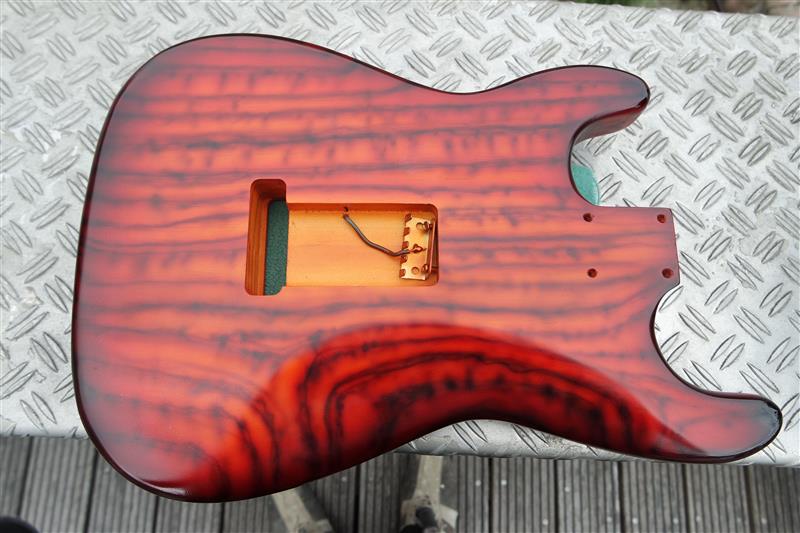
The start of a hand painted back.
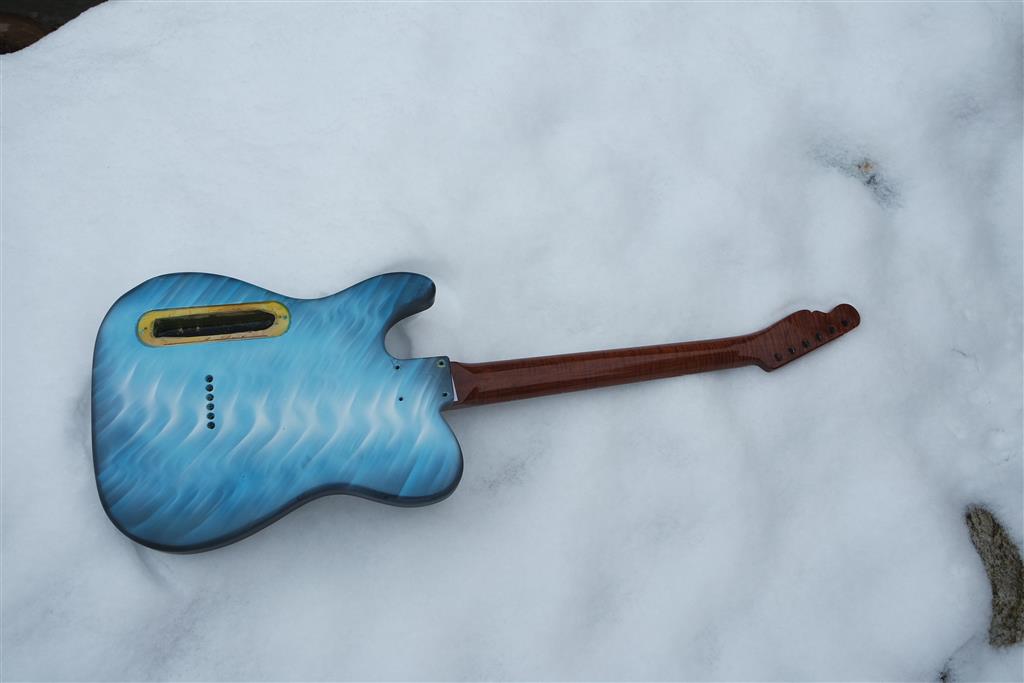
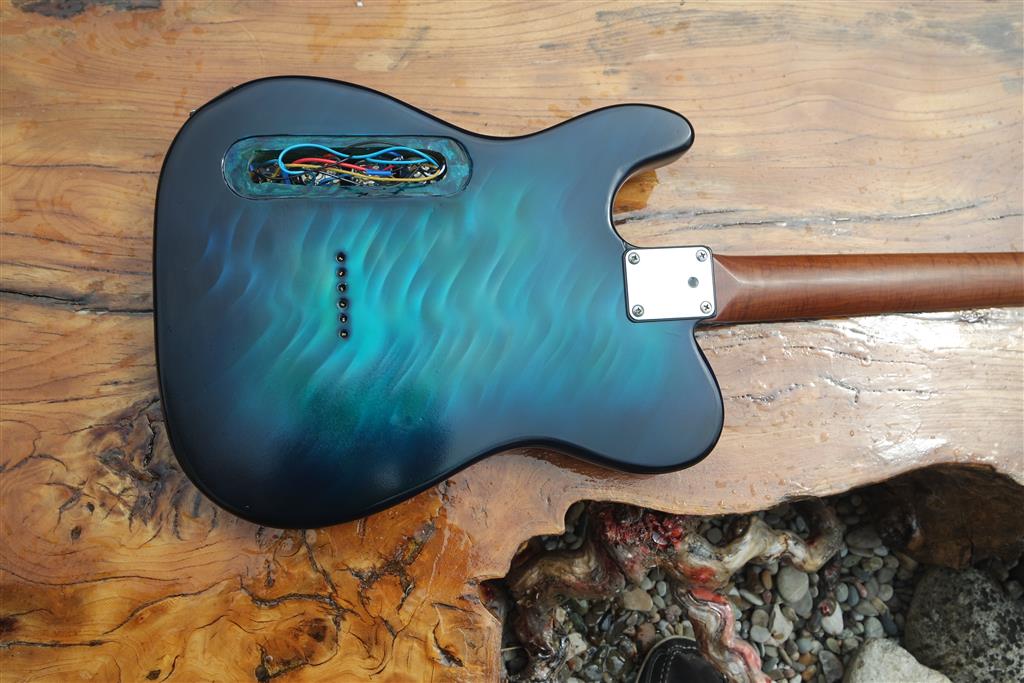
Just about right.
Celebrate Color: Guitar Backs
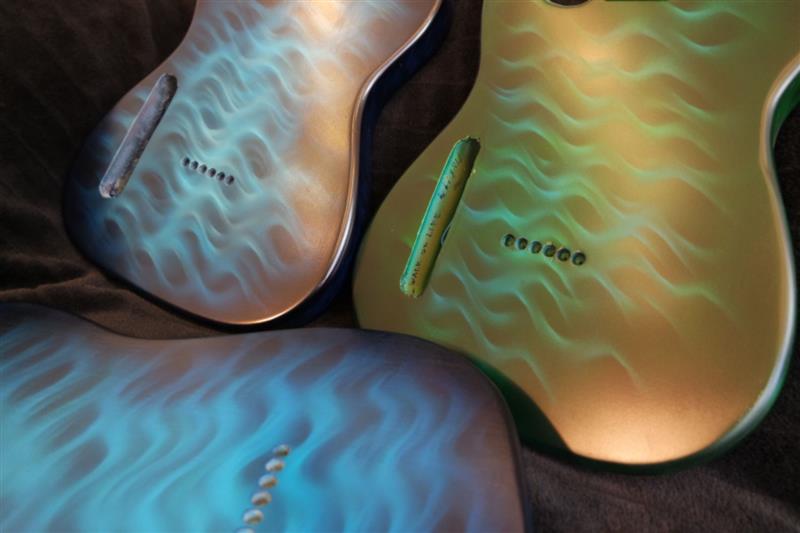
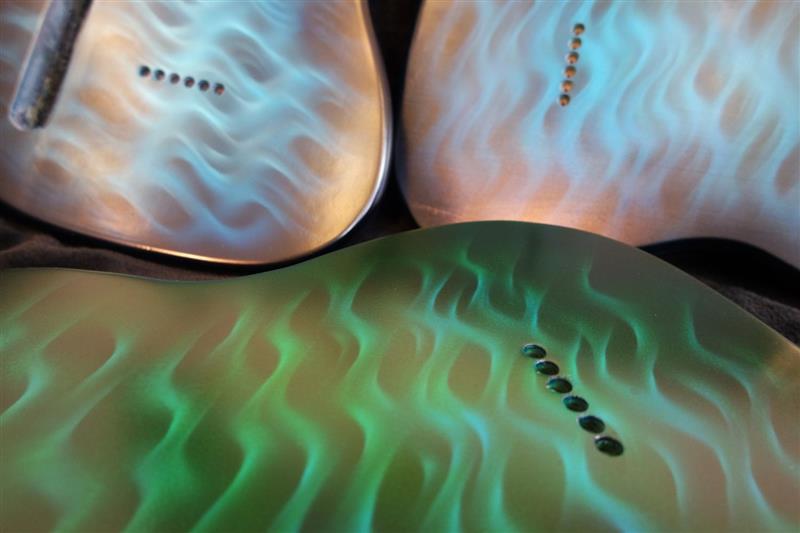
Guitar Sides
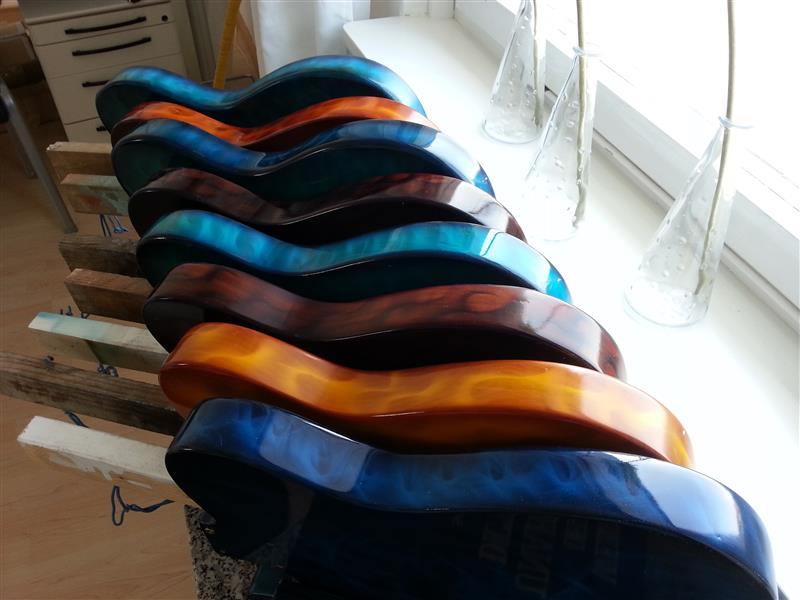
Guitar tops
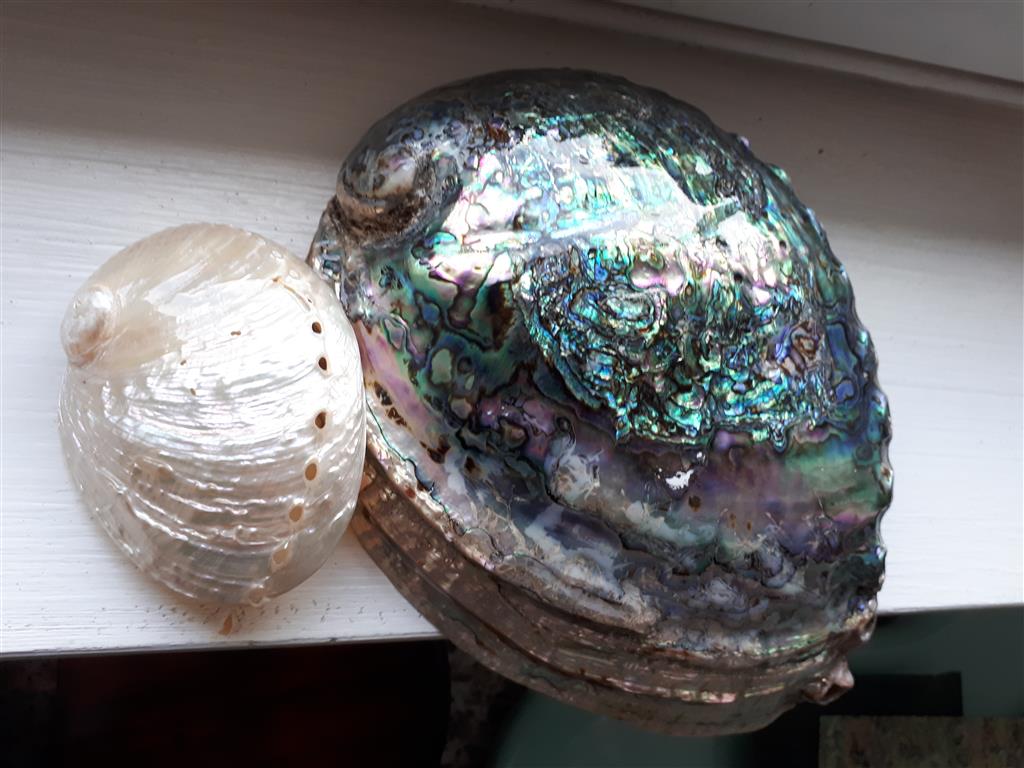
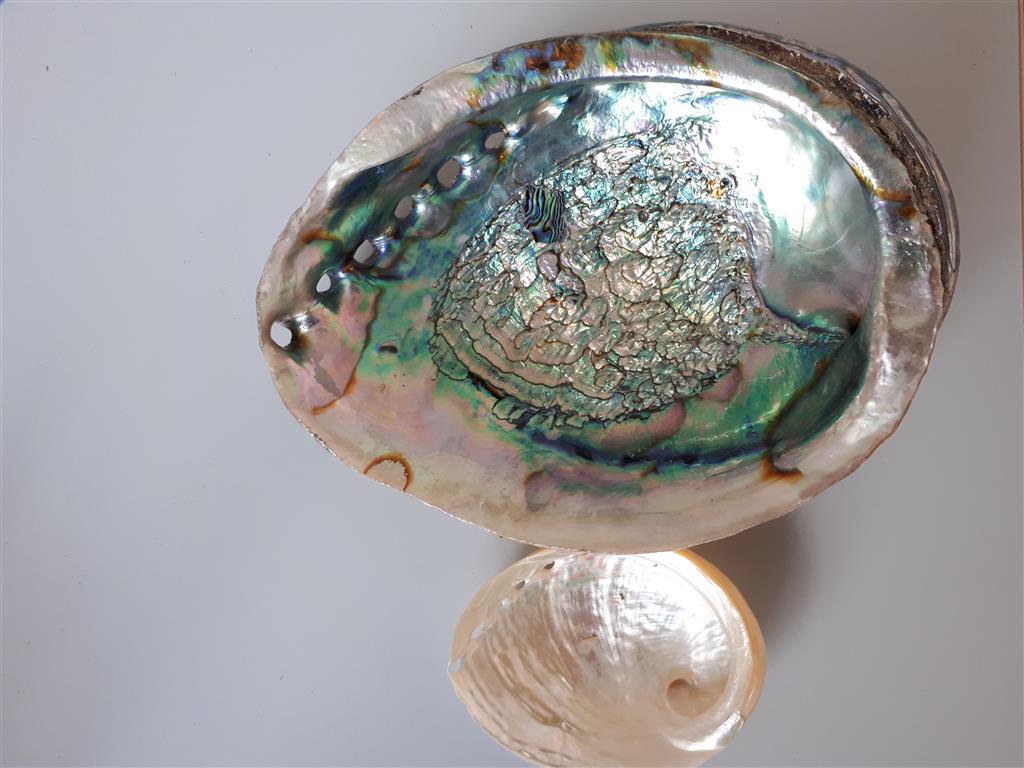
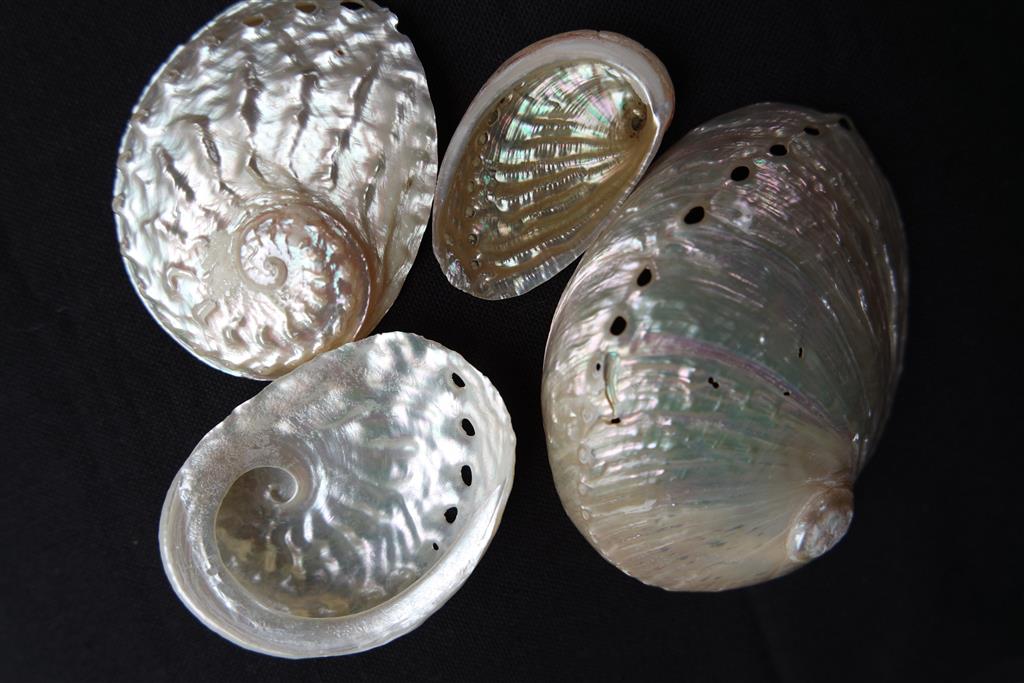
This is where it all starts.
